

Making Your Bouquet of Fresh Roses Last Forever
I thought this might be a timely post now that many of you may have a bouquet of Mother’s Day roses that you’re hating to toss out! Here’s a quick method for keeping them as long as you want!
The tools you need are:
Scissors or Small Garden clippers, rack for drying (the kind you put cookies or baked goods on to cool) and a container to hold the dried rose buds.
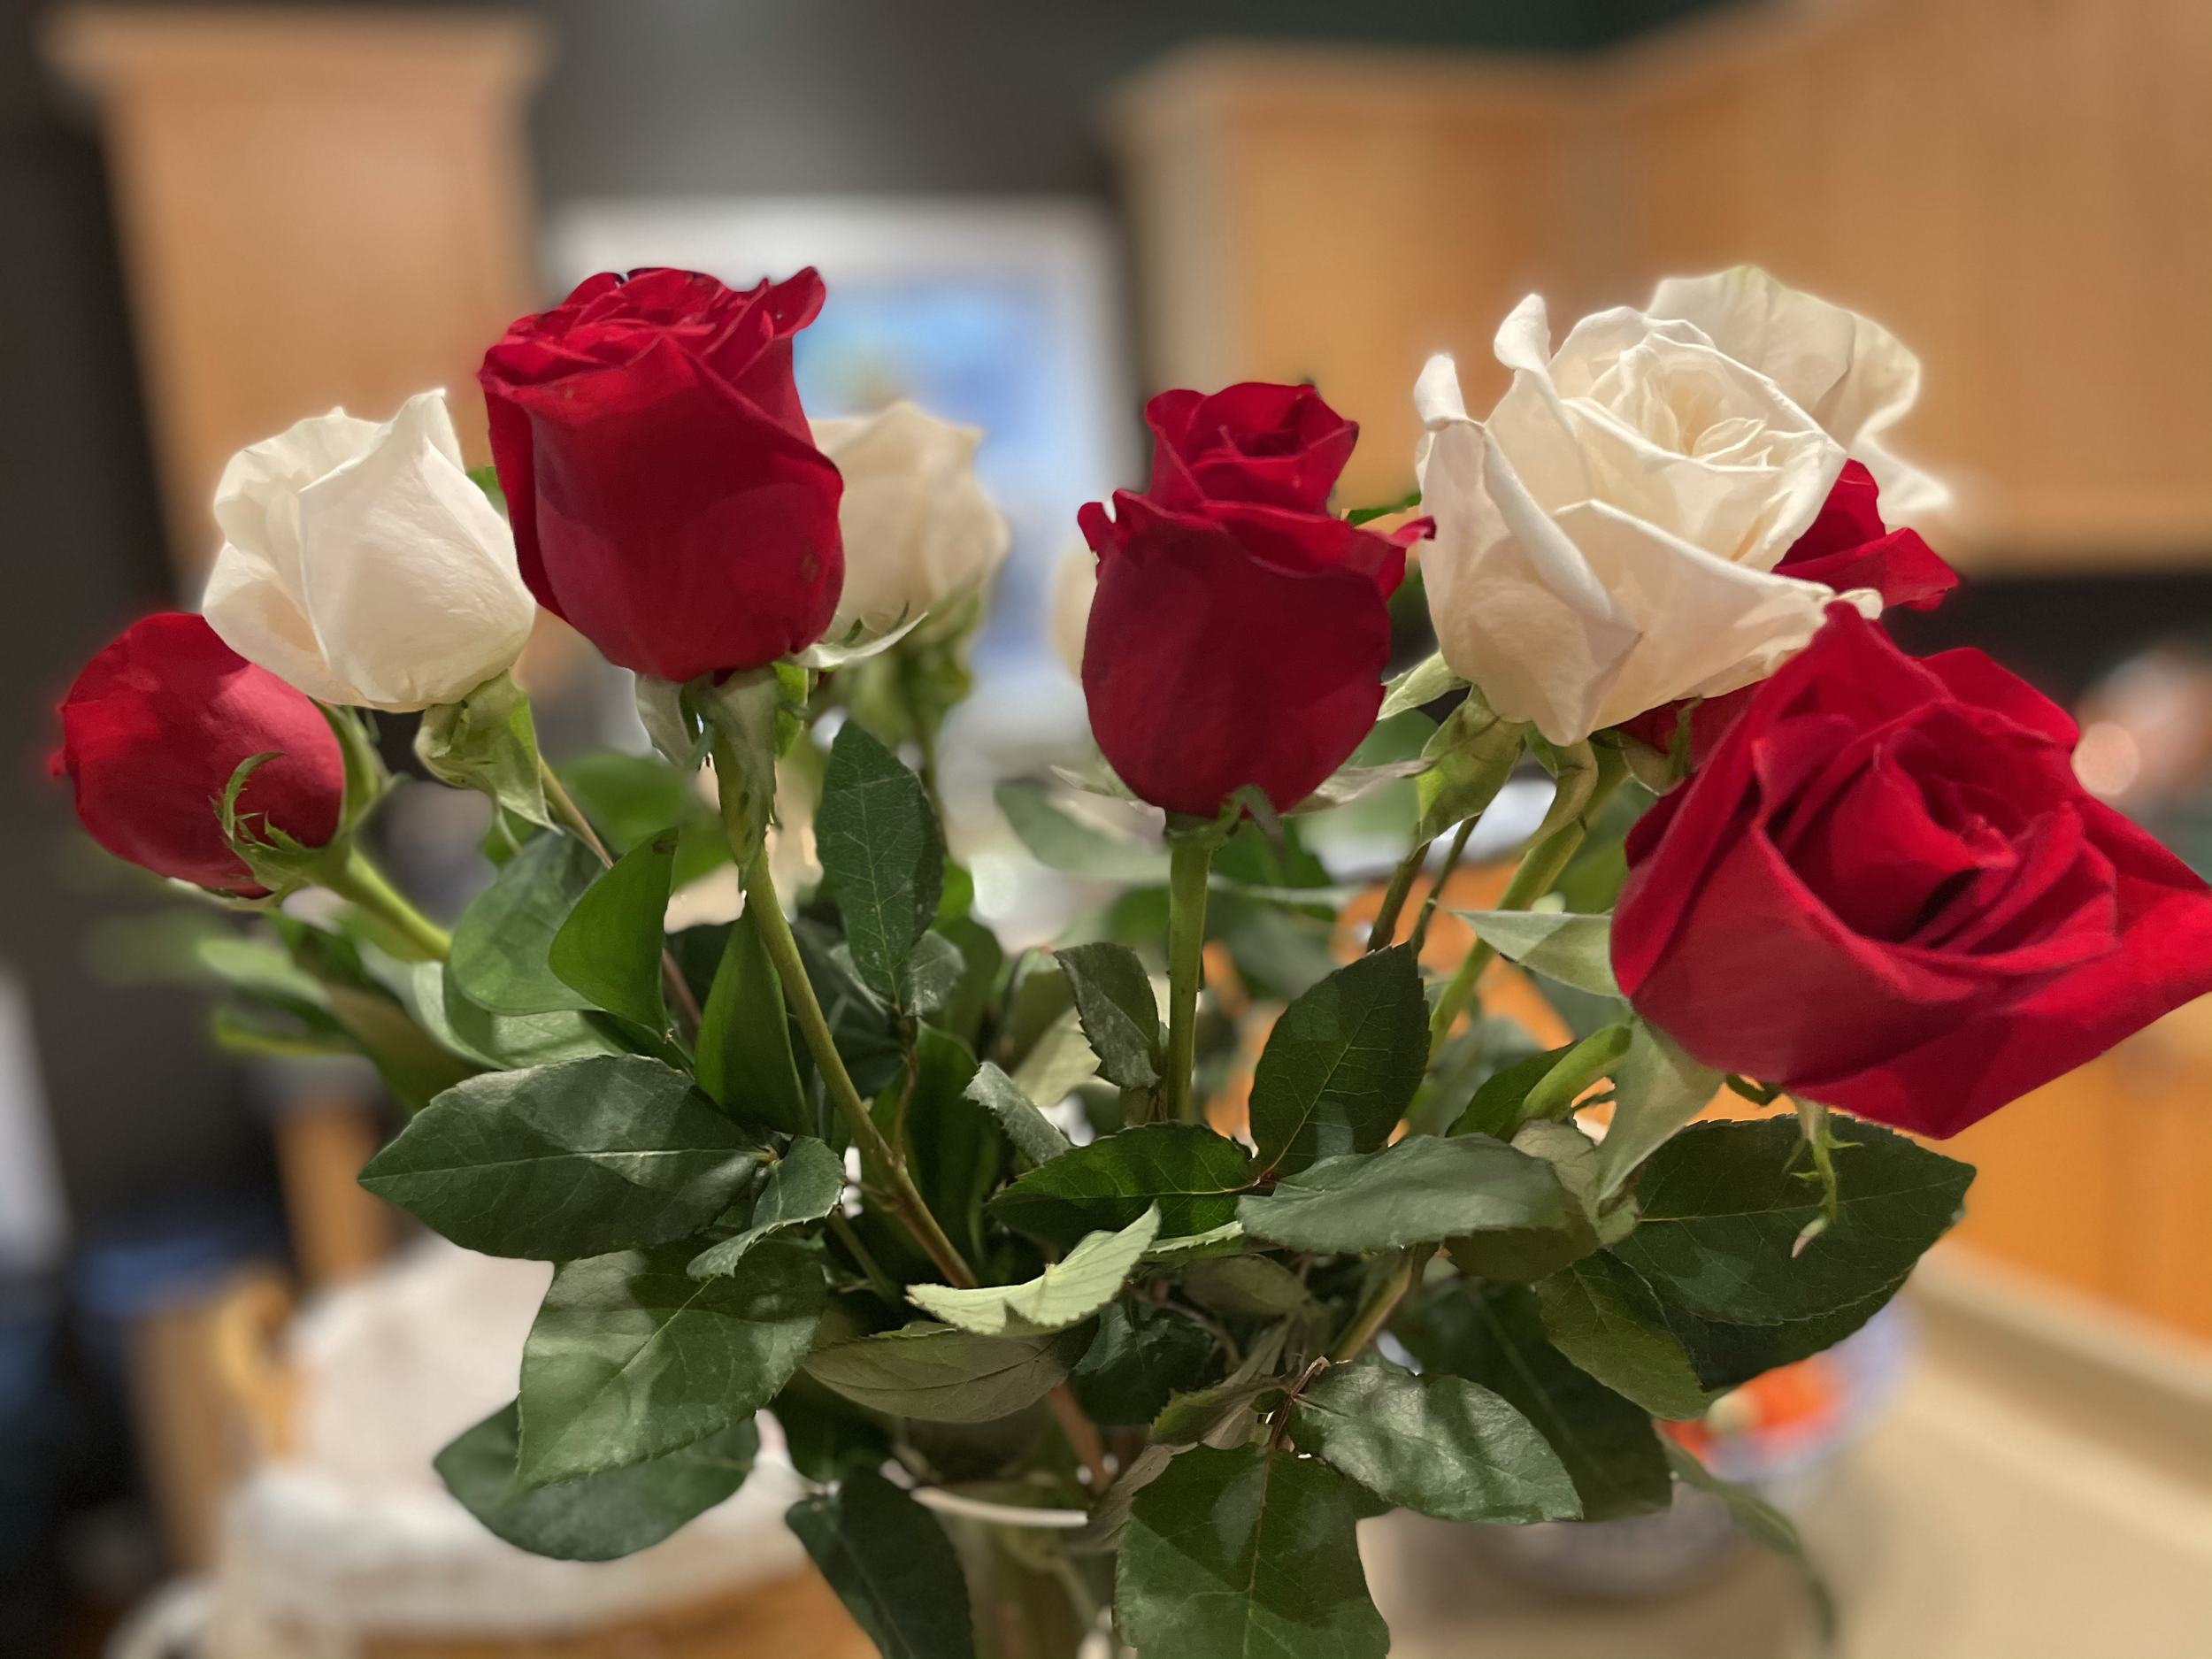
Too pretty to throw out even after they’ve faded!
If you’re like me - it’s hard to part with those pretty buds even after they’re starting to fade! I’m not gifted often with fresh flowers so when I am I like to keep them even after they’re less than fresh!
For character clarification - Hubby isn’t a bad guy for not getting flowers often for me, it’s mostly me saying that they are kinda of a waste of money….so it’s a pre-agreement of sorts!! But sometimes he can’t resist those beautiful bouquets at Costco and their rock bottom price and that’s ok by me!
First off, I haven’t had any luck drying anything but roses. So my post will be referring to roses, just in case I forget to say!
The first step is to snip the stems just below the bud. I like to keep the green leaves at the bottom of the bud as well. I’m sure there is a botanical name for that part of the flower, but you know what I mean.
Next, carefully handling each bud, lay them on a surface to dry.

Drying the buds.
I’m just using the rack that fits in one of my cookie sheets, nothing fancy to lie the buds on for drying.
I like putting them on a rack so that the air can circulate around each bloom.
Now you wait. I let mine sit on the counter top for several days. Try not to touch them, I’ve found this can make brown spots on the petals.

Decanter lamp
I’ve been using this decanter style lamp for a few dried rose arrangements. I love the look and I love remembering why hubby and sometimes even my only child purchased them for me!

To fill the lamp, the shade is removed and then the bulb socket is unscrewed.

Next, I carefully remove the lid and just slide if off to the side of the decanter part of the lamp.

Next, I can start filling the decanter. The buds are a little fragile at this point so carefully placing them instead of dropping them in helps keep all their petals in place.
The look I’m after is all the whole buds layered vs. petals but you could do petals. It’s simply your preference.

I’ve now placed all 12 dried rose buds into my decanter. I don’t have room for many more in there!!

Here’s the finished look. I’ve attached the bulb and holder as well as the shade back onto the lamp. I’m not sure I’m going to be able to fit many more in there because I like the look of it being a bit empty. But don’t tell Hubby - I can always find a place for dried rose buds!!
I have this in my spare bedroom and I just love walking into the room and my eye goes straight to my forever roses from the forever guys in my life (Hubby and Son)!
My decanter lamp was purchased at Target YEARS ago!! I’ve enjoyed it over the years by filling it with pretty Christmas ornaments or my cork collection but I think this is my favorite!
If you’ve been on the blog before you may have seen my post for making concrete bowls. I’ve put my dehydrated roses in one of those before as well and the result was gorgeous - (no picture though, sorry!)
So, shop around at home and see what you have to contain and display your forever roses. A cut crystal bowl or wooden bowl would be beautiful as well! I like to have a juxtaposition of different materials in my displays.
Just get creative, dig around in your cabinet or closets and see what you have available and don’t throw those roses out - yet!
Thanks for stopping by, I appreciate your visit! If you enjoyed being here, please let your friends know I’m here! Would love a follow at Restoration.chick on Instagram or send me an email at rhondawoh@comcast.net to be added to my newsletter mailing list!
Blessings, Rhonda