

Sharpie Shiplap
I have wanted to try a Sharpie shiplap project for more than a year and I was able to incorporate this design hack into a laundry room upgrade I gave myself for Mother’s Day! Literally, I spent the entire Mother’s Day weekend in this closet!!
In my head it seemed a whole lot easier & quicker to knock out, but that was not the case! It’s won & done now …. I probably won’t be adding this detail anywhere else in the house, though! Application of the less is more design rule for more reasons than one - for Sharpie shiplap!
The level of detail this project demanded …painting walls & a ceiling, painting & sealing shelves, spackling & sanding walls, measuring, drawing on the walls - was more involved than I imagined. Not to mention having the complication of working around my washer & dryer! But, I don’t look at my projects of what it will take to get across the finish line, I just keep my eye on the prize….and this was a prize!
It’s a small space, however it took a lot of lines to be drawn before I made it around those walls! I absolutely LOVE it - I’ve transformed an eyesore of a closet space into a cozy little nook. I seriously can’t stop looking at it!! Laundry is so much more fun now!

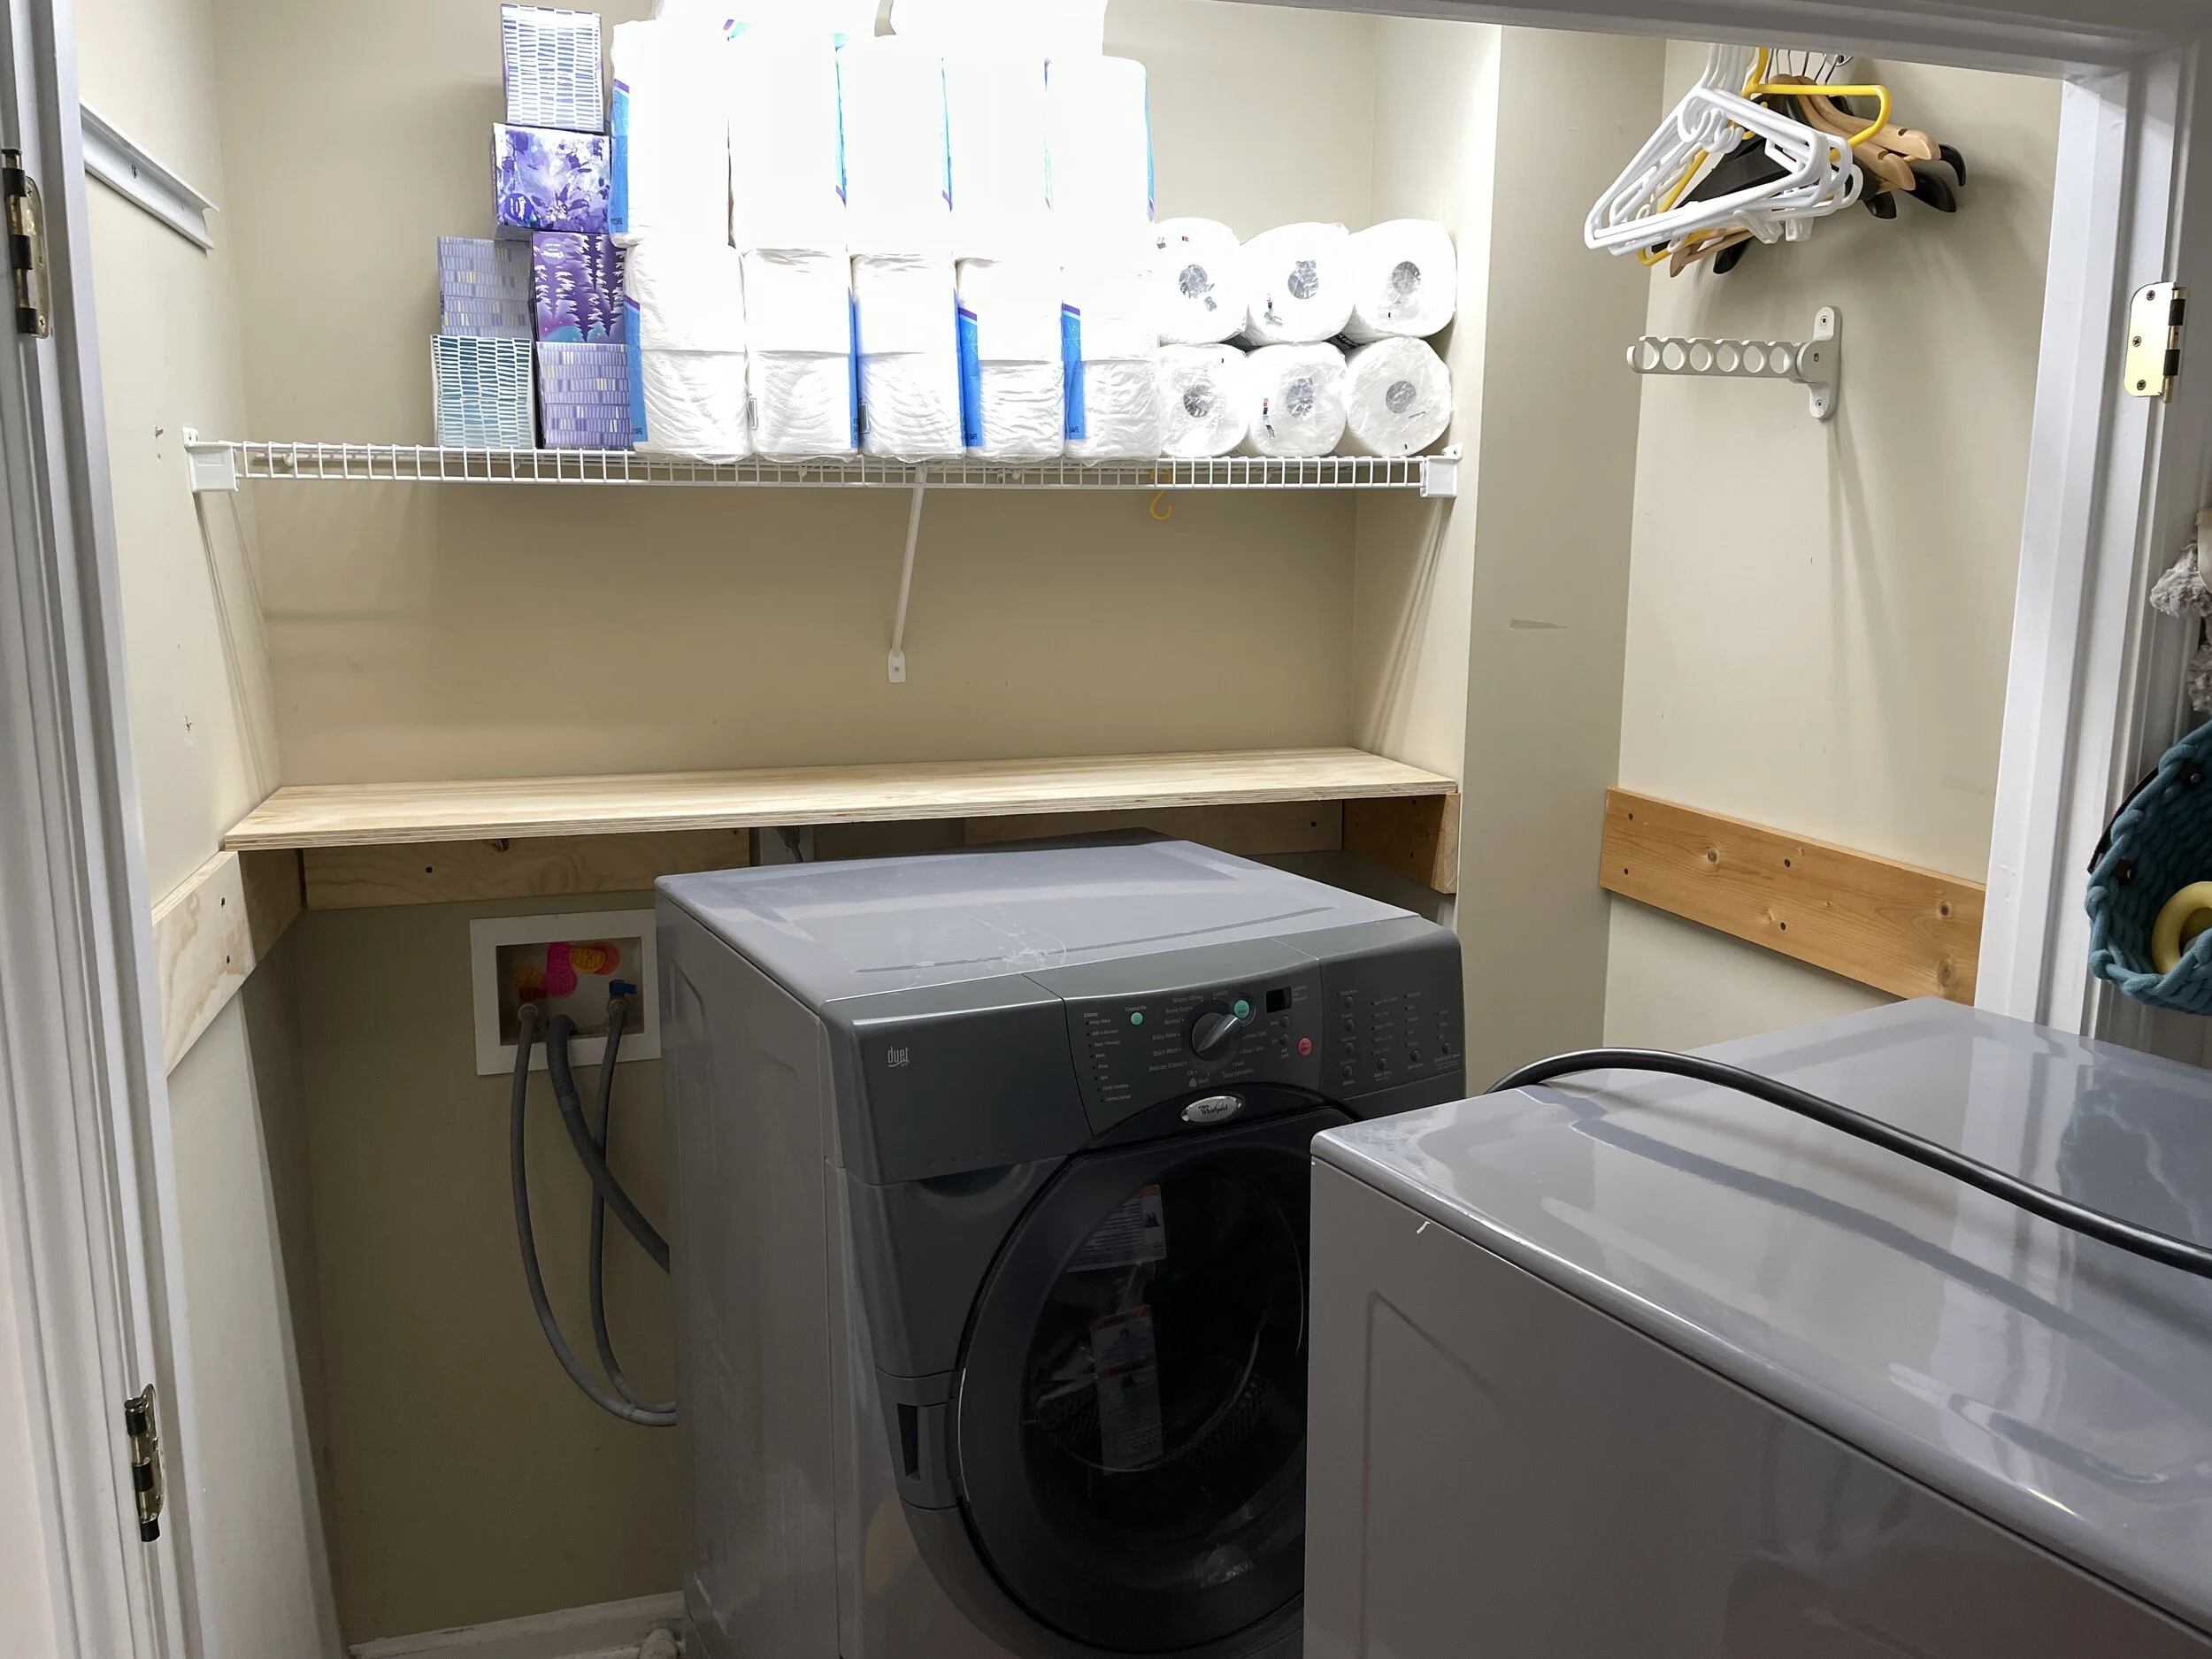
This is not an exact before picture but it’s the closest I could get! Hubby started deconstructing while I was at work this particular afternoon.
At this point, He’s unpacked most of the items that were on shelves. He has taken down the two shelves on the left wall, so it was a lot more stuffed, cluttered and just yucky looking before I snagged this photo!
You can see he’s already begun installing the brackets that will hold the floating shelves. He’s also measured out the plywood & testing one to make sure he’s got the right fit for the shelves.
Also, in the spirit of transparency, I HAD to include the picture of the nasty floor! Who knew what’s under a washer & dryer after sitting in the same spot for 17 years, right? (Good grief, I promise the rest of my house doesn’t look that dirty!)


Here’s Hubby sawing the shelves that will sit on the 2x6’s he mounted on the walls.
The design was all his - he wanted one solid shelf over the top of our machines. Due to the space being so confined, he designed two shelves; one sits in front of the other to make one continuous surface.

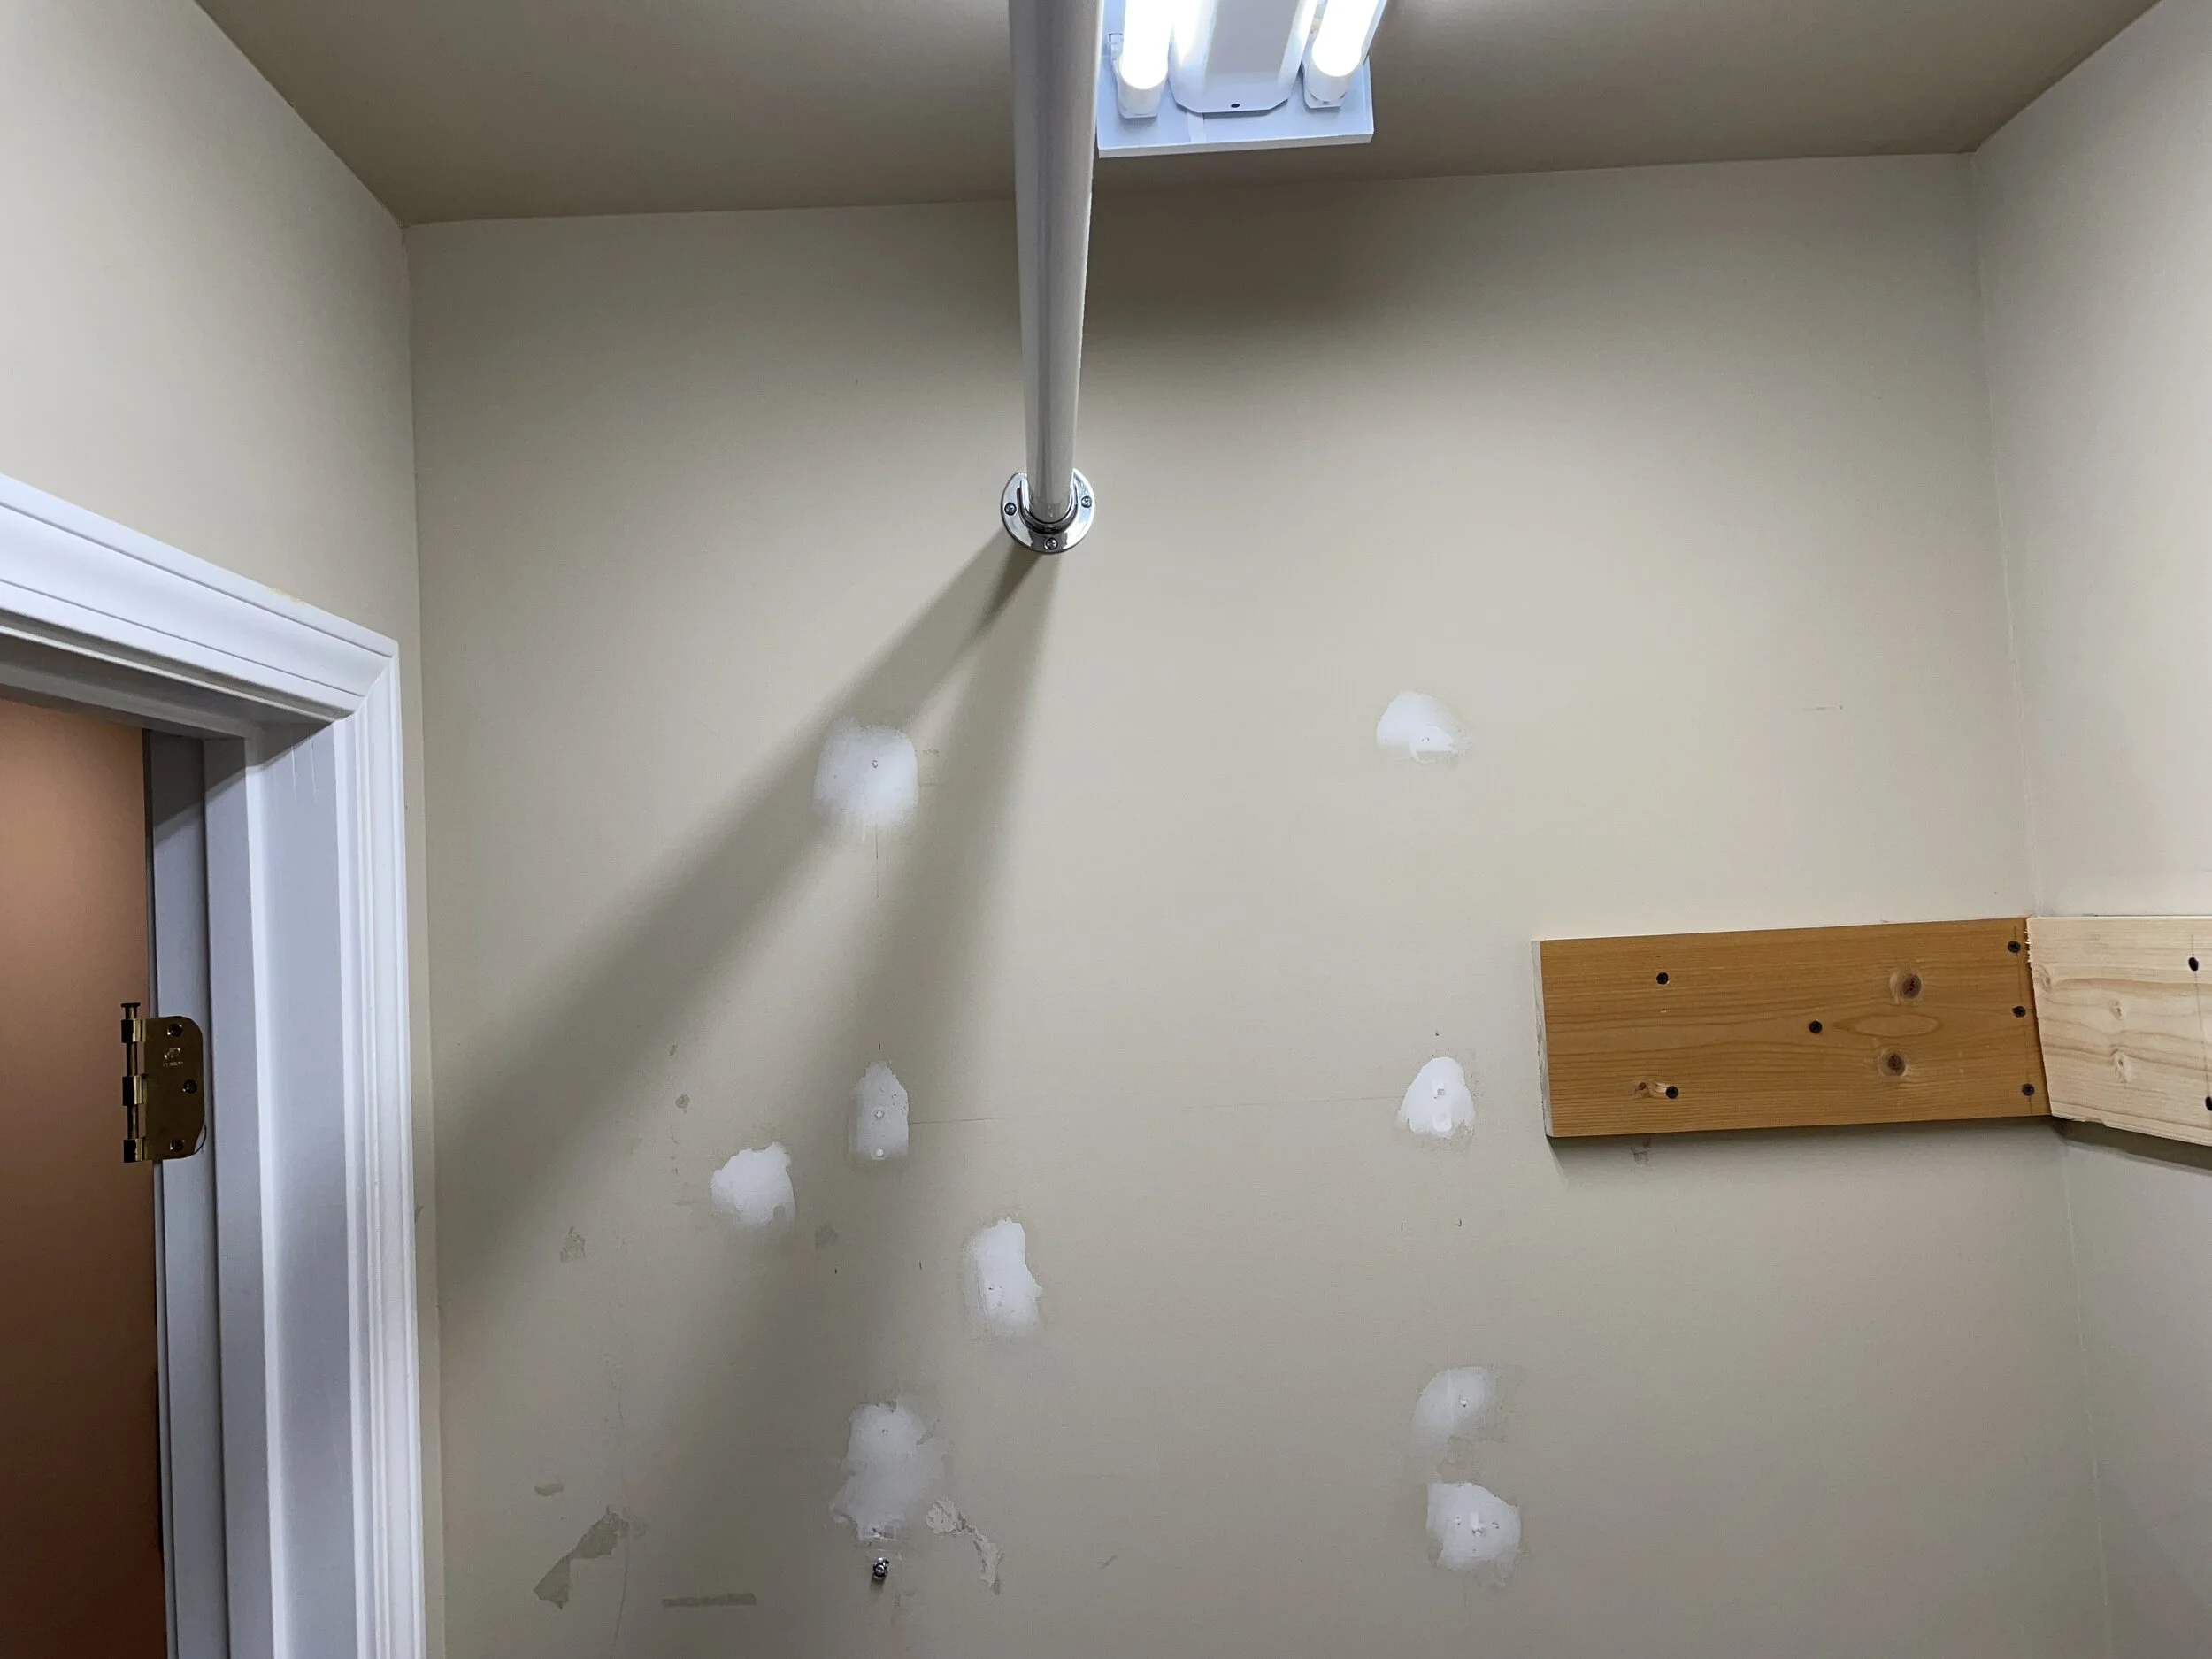
The ugly wire shelving has now exited the house! Left behind were some really big holes, but were conveniently covered by the 2x6’s hubby mounted on the walls that will serve as the brackets for the shelves. I spackled the holes on the side walls that won’t have brackets.


After allowing the spackle to get good & dry it was time to sand the walls. Then time to vacuum the dust from sanding! This step had to be thorough & I gave the the walls a good wipe down so little particles didn’t get on the roller as I painted.


In between prepping the walls in the laundry room, I had the shelving hubby cut for me set up in the garage. I took turns between painting in the laundry and painting shelves in the garage! I used a basic white trim paint with a slight sheen for two coats on the shelves.
I touched up with a light sanding in between coats of paint. I wanted a super smooth finish so I also sealed the shelves with one coat of polyurethane. This was important since we’ll be using this surface for folding & stacking laundry.


Time to get started with painting the trim. I painted the baseboards, the trim inside & out of the doorway & the newly installed 2x6 brackets.
My favorite paintbrushes are by Purdy. The angled brushes are the best for me. I found this set of three (on sale) when I picked up my paint at Sherwin-Williams. Why only get one?Happy Mother’s Day to me!


Now to get started on the walls… but first some tea!

This was the first time I used the Emerald line of paint from Sherwin Williams. It went on really well but I did have to use two coats. I used Bright White in flat.


Break time! Admiring my paint & spackle manicure while I enjoy an espresso with my Mother’s Day macaroons courtesy of Hubby!


Walls are painted now and it’s time to measure, calculate and start marking. It took a combination of my level, yardstick and the measuring tape to get the lines perfect.
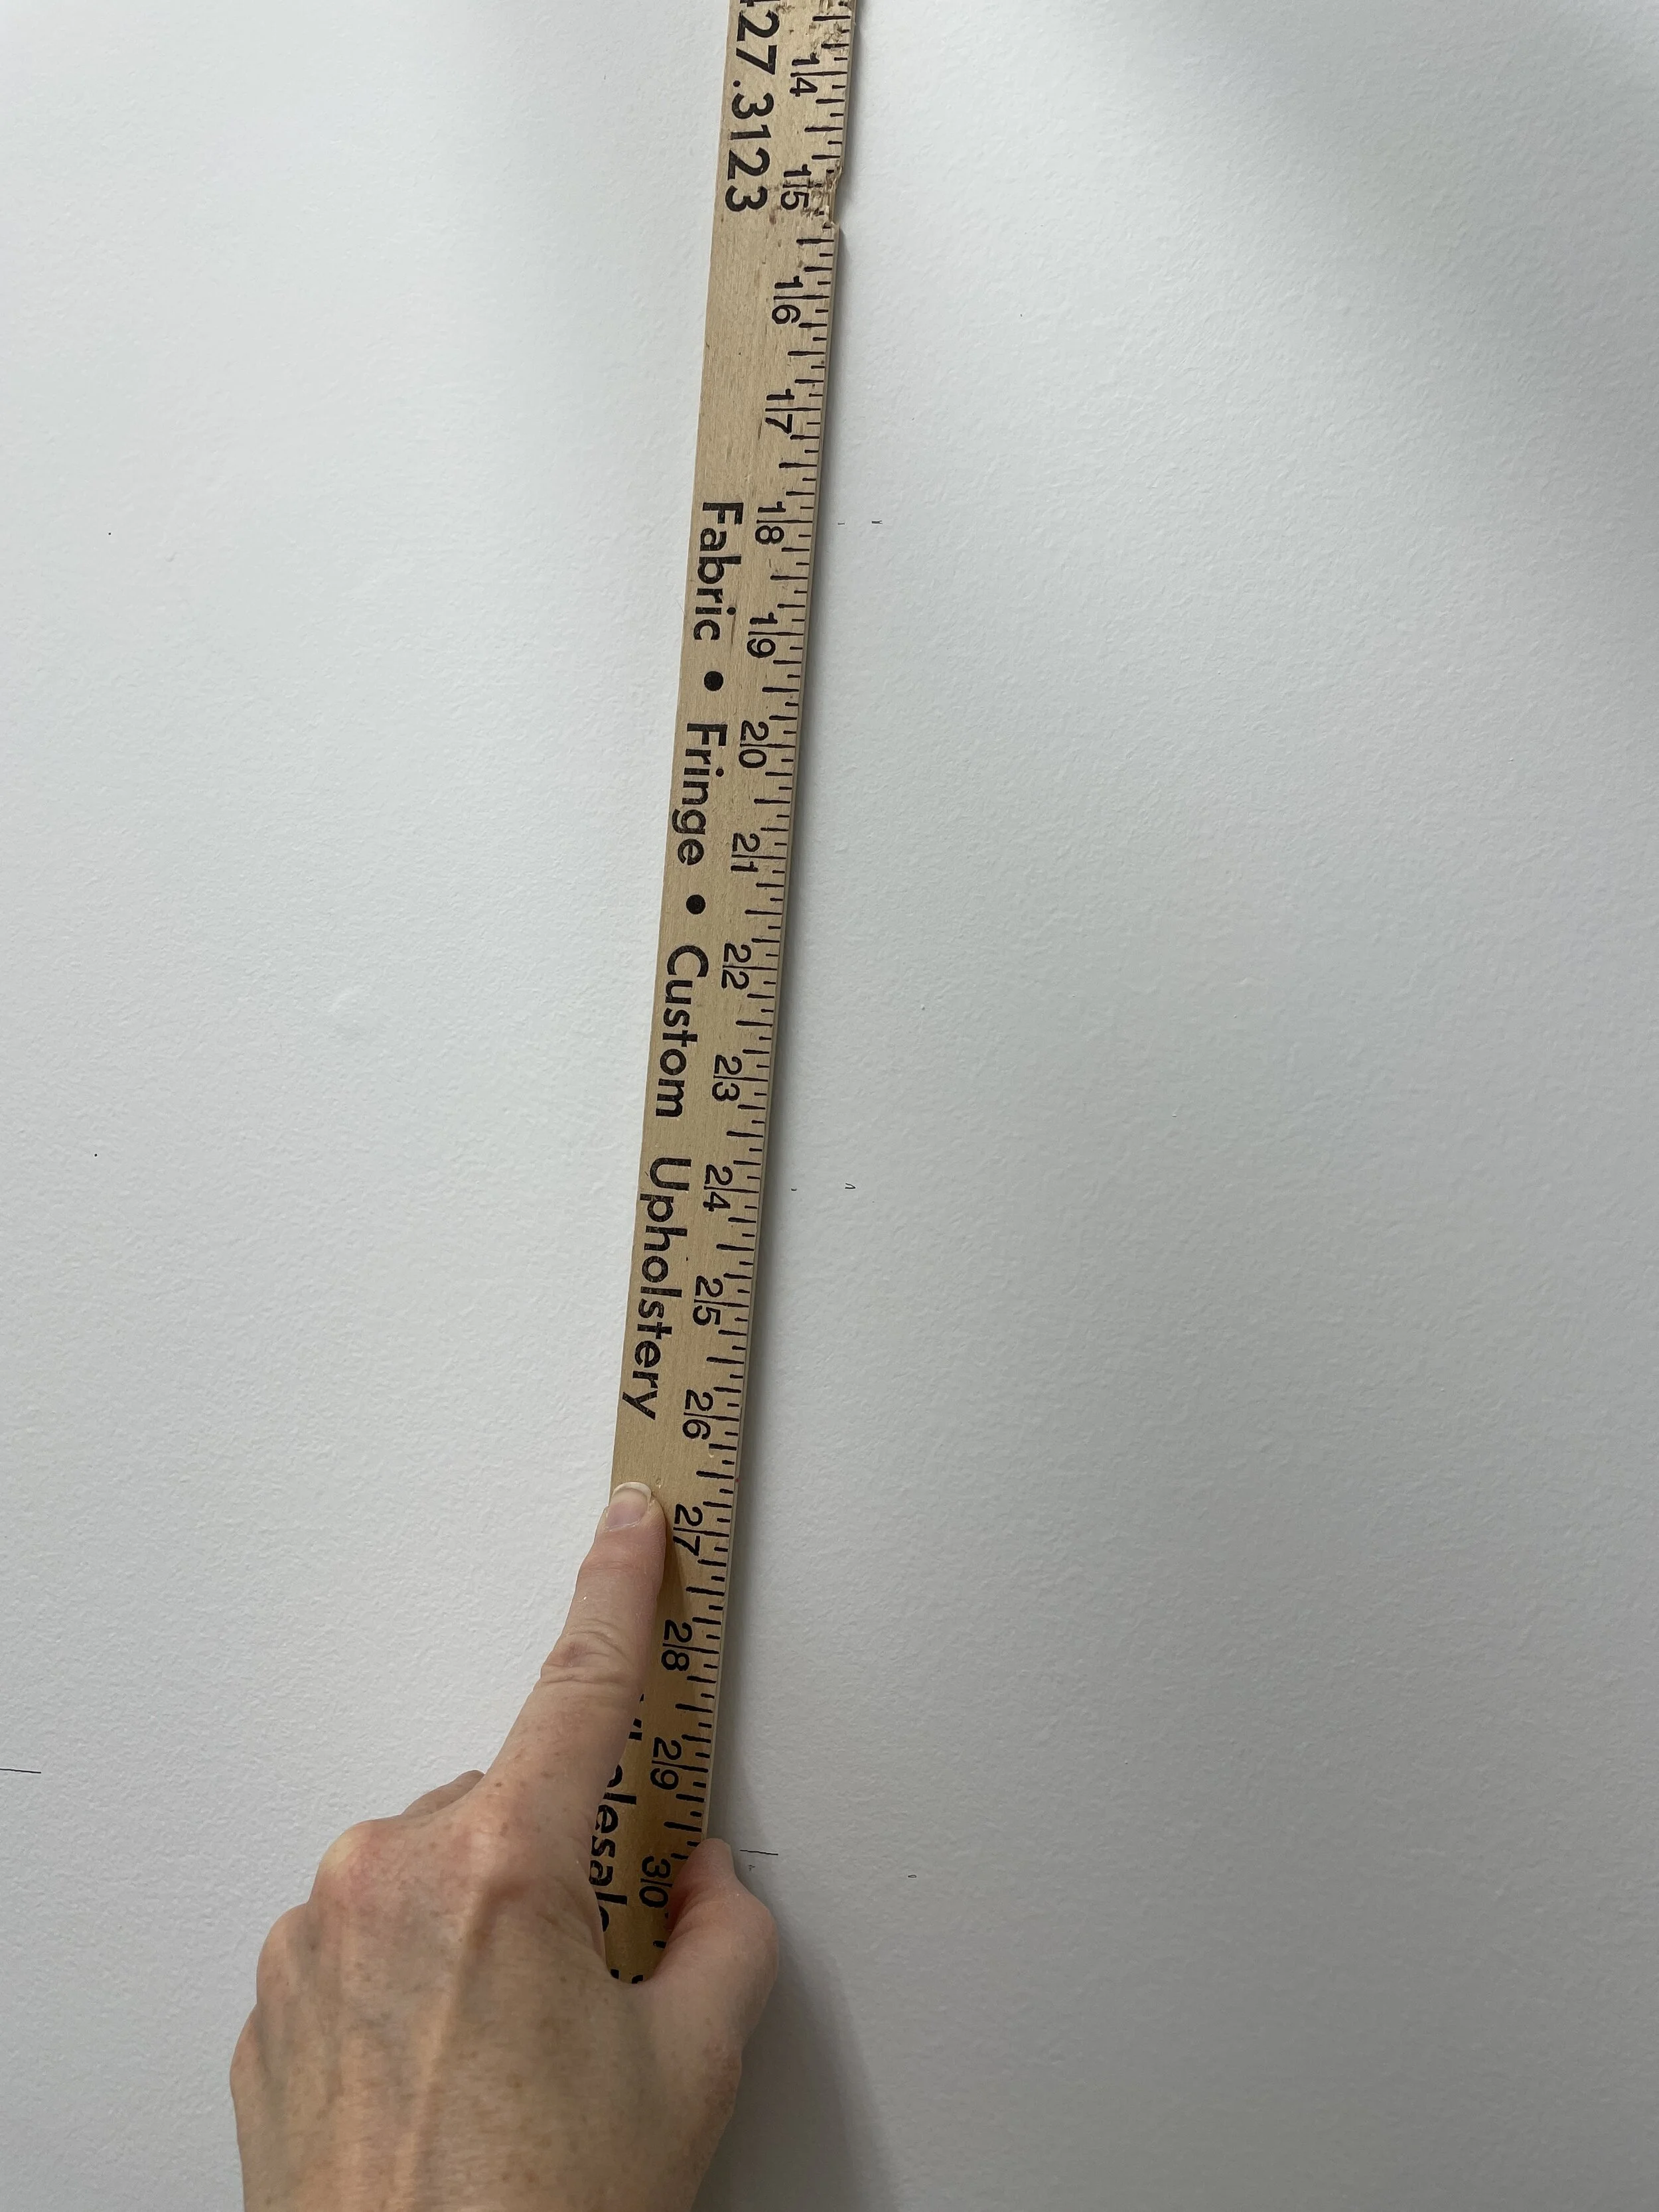


Here’s my pencil marks I used to guide my straight edge & sharpie for the next step.

I used the fine tip Sharpie marker.
The corners were a bit tricky to make sure I’d measured & marked evenly so they would meet perfectly.


The lines are all here! Shiplap installed!

Remember these guys? Removed from our master bath when we installed the barn door. (Check out the blog post I did a few weeks ago for our Barn Door install.)
Hubby decided to repurpose the doors for this project since the shelf we had planned on using just didn’t look right.

I had some finishing touches to make on the repurposed doors and the shiplap lines.


Now all the shelves are installed. We simply placed them on the brackets.
LOVE the way the doors made a chunkier shelf. The black plays off the sharpie marker lines & really pops!

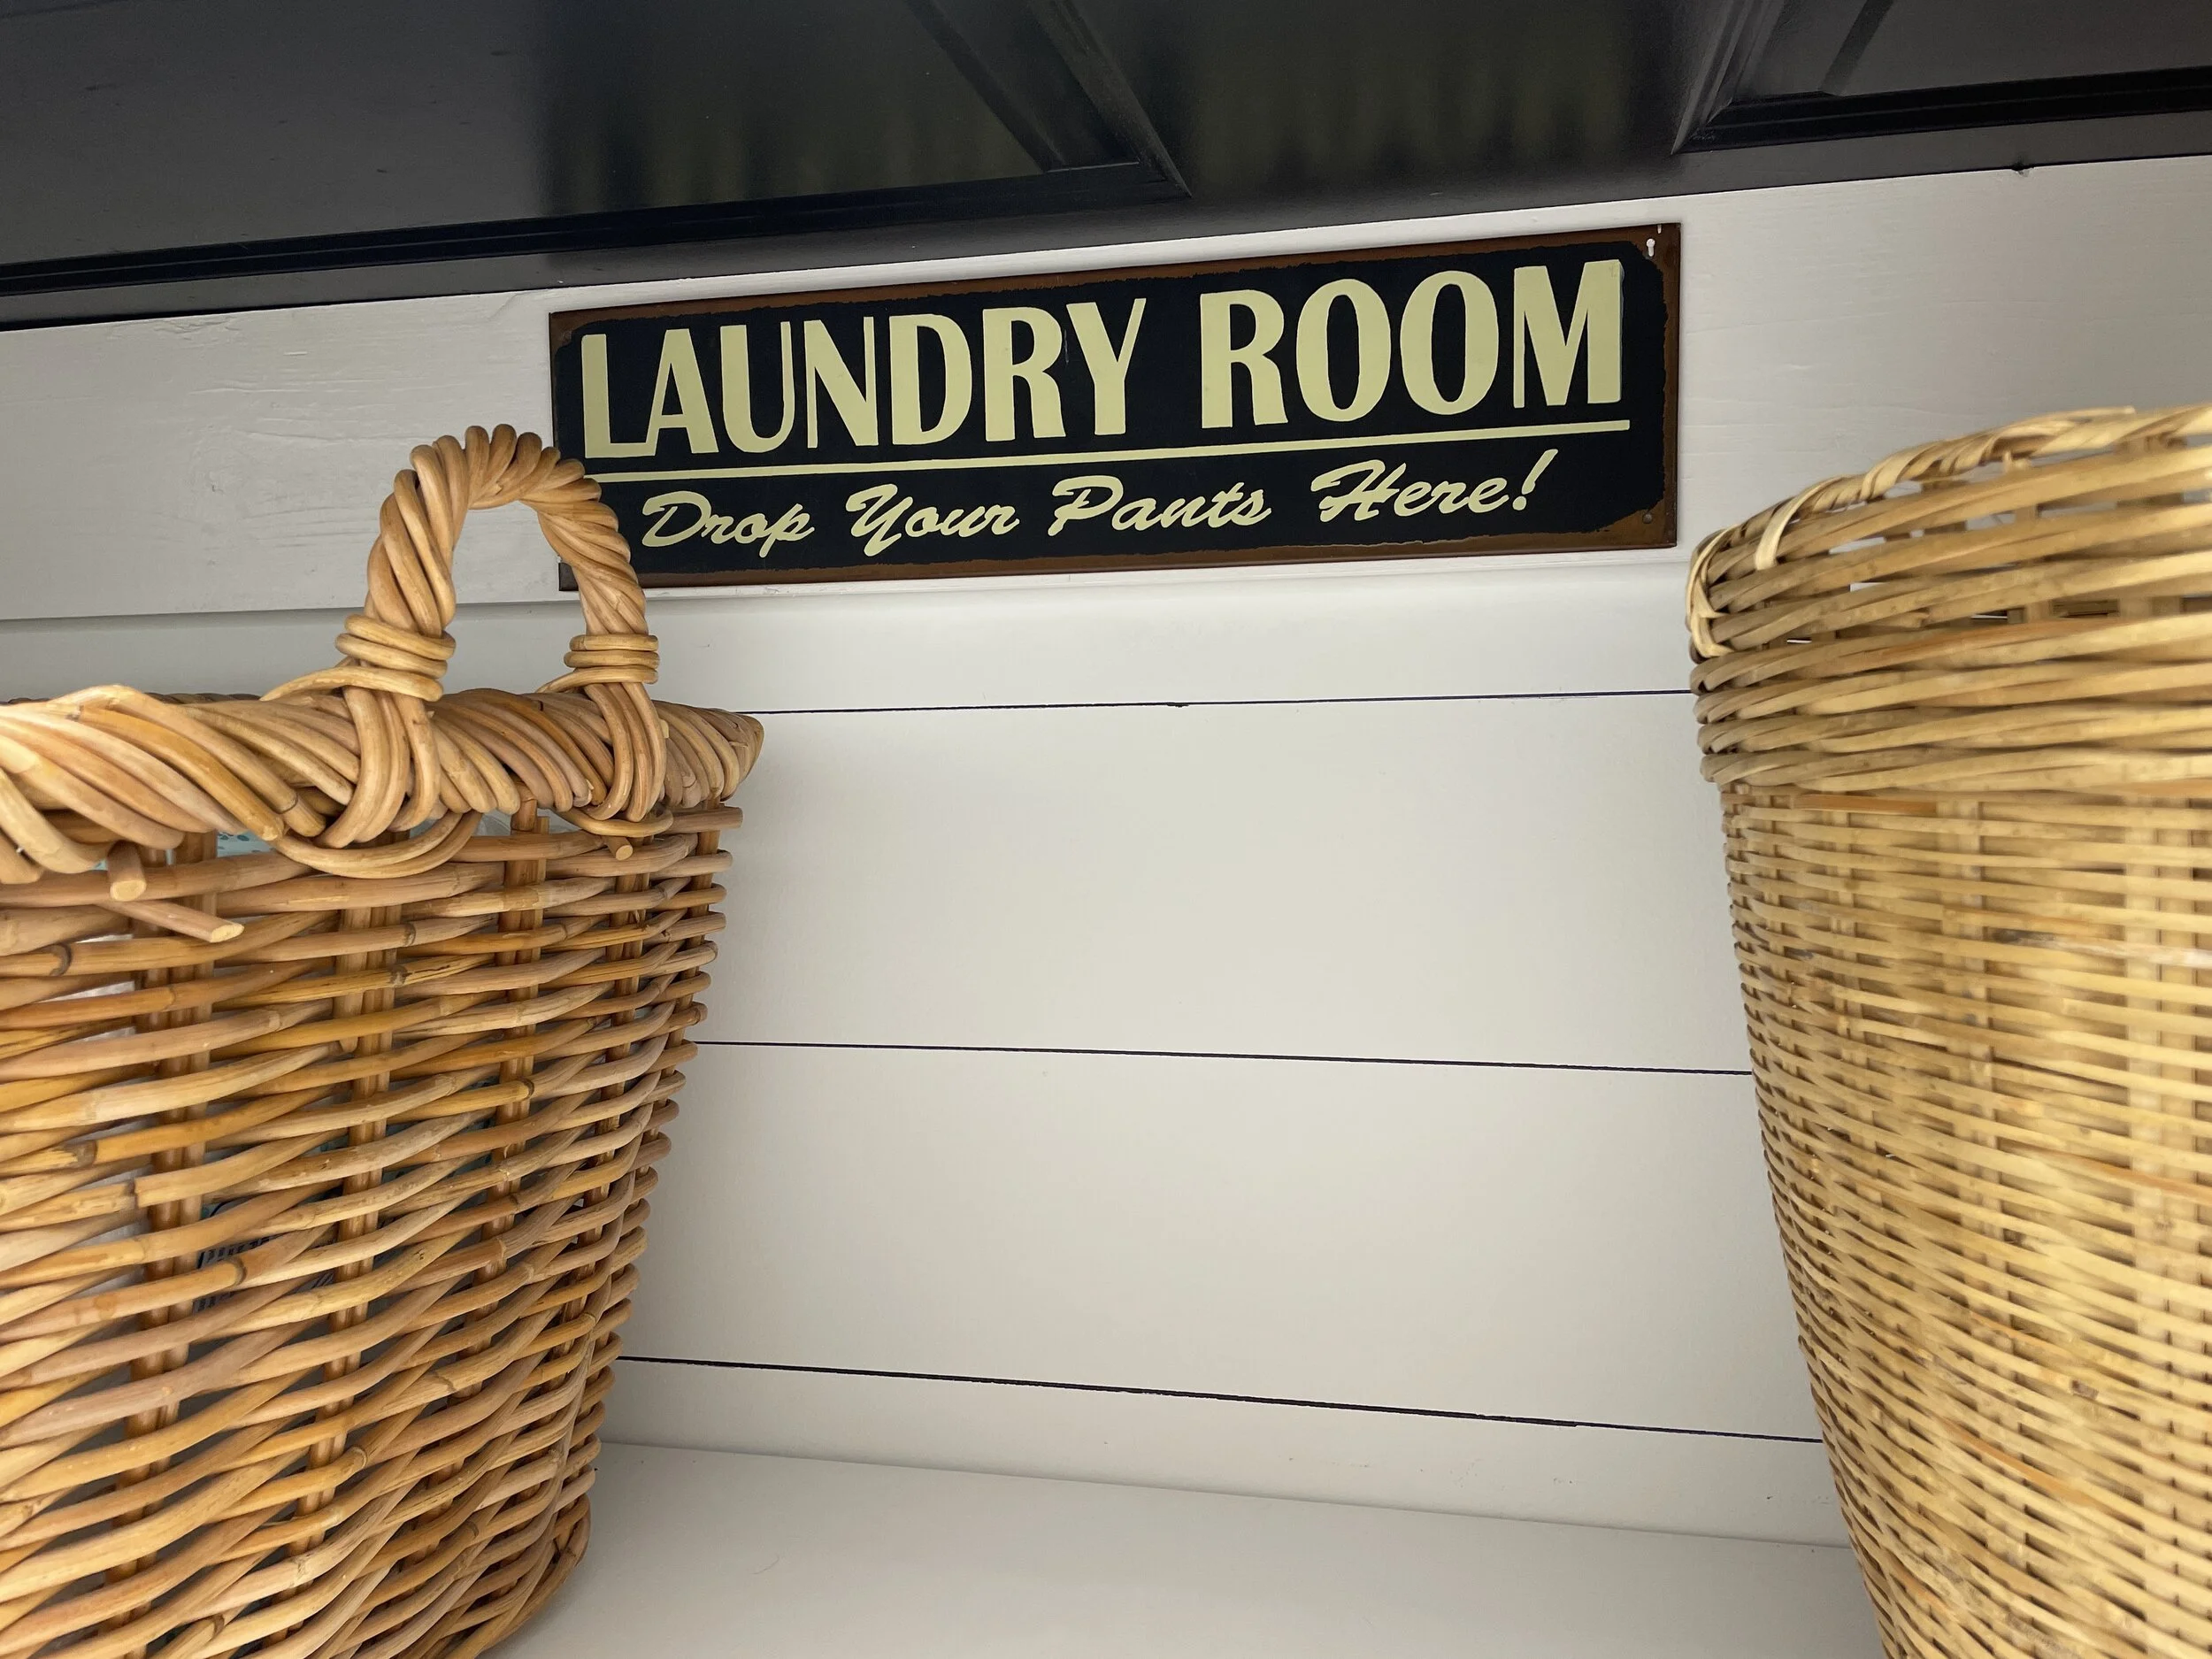
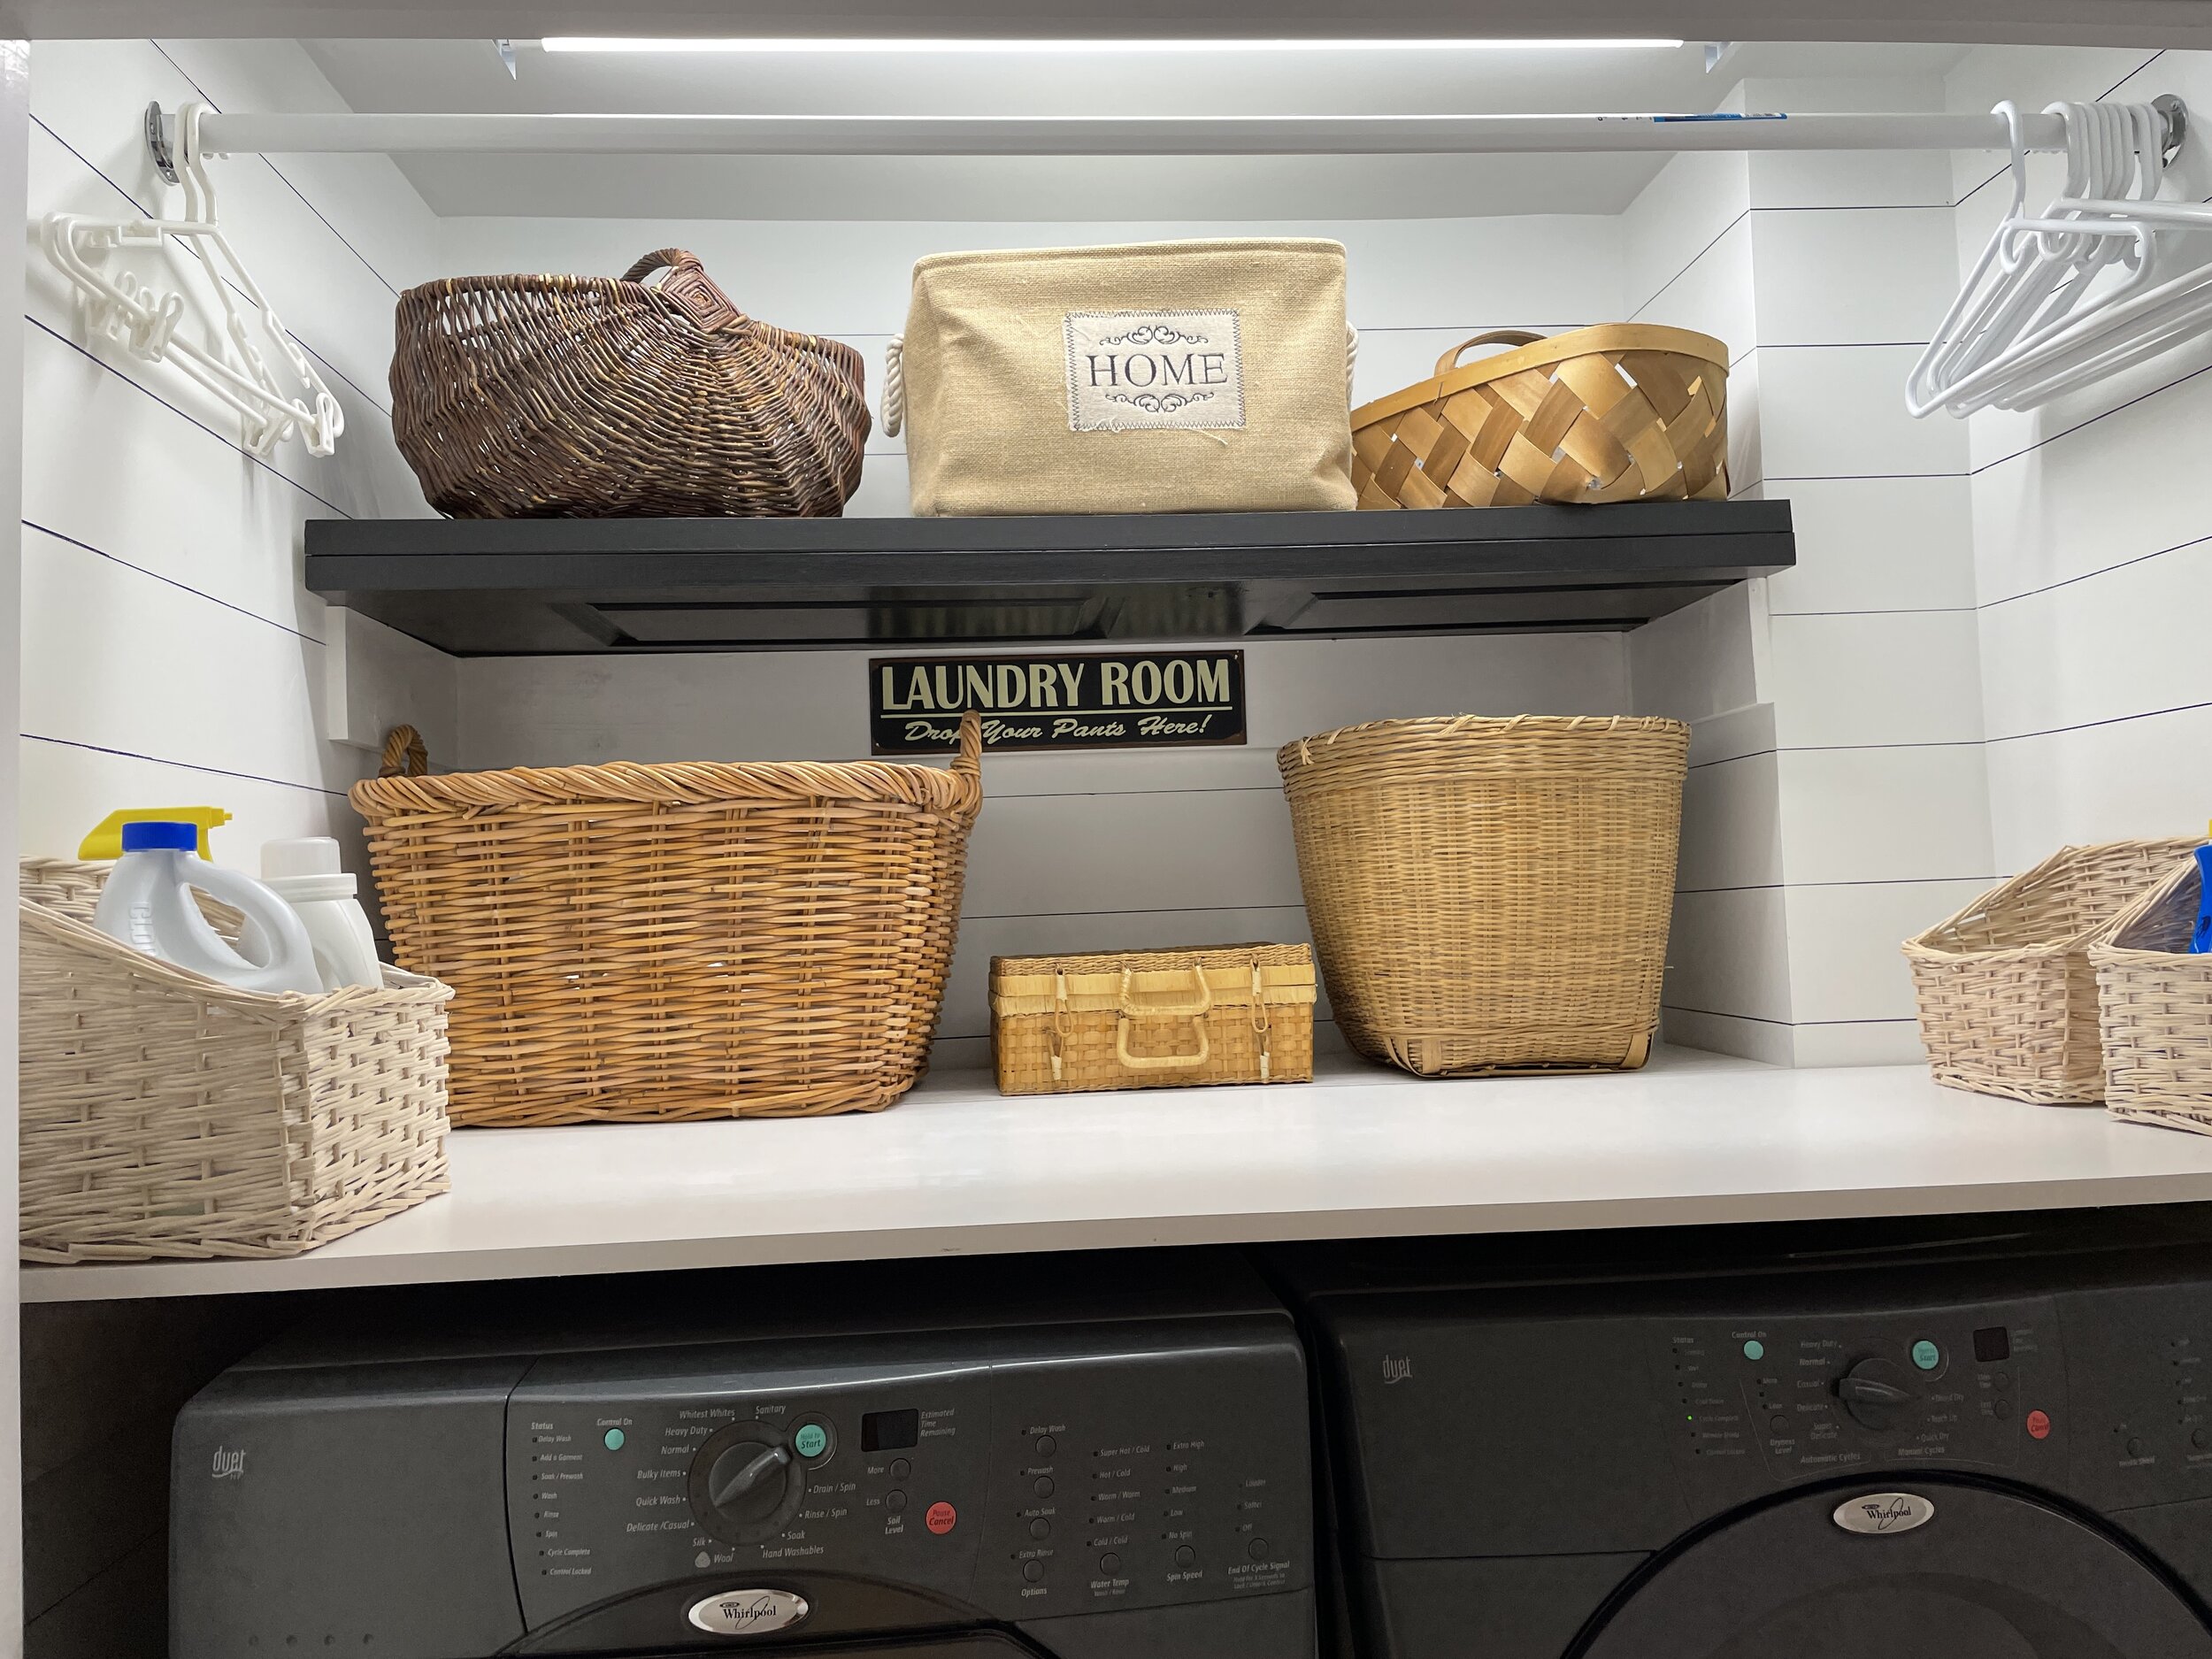
The finished product! I shopped at home for all the baskets. I have quiet a stash. I’ve always loved baskets & have a ton around the house!

I removed the doors to this tiny closet years ago just to help with access. I really doubt I’ll be hanging them back up anytime soon!

This closet sits at the end of the upstairs hallway, so I get to see it every time I make a trip up the stairs!
I had this rug in another room but I love how it ties this space together. It even accidentally matches my machines!
The cute hamper I picked up at Costco a couple of years ago & it fills up the empty corner perfectly.

Here’s all the junk that I didn’t even know I had crammed in the drawers under my washer & dryer! Who needs so many cleaning rags?? I worked on compacting & tossing a lot of things I hadn’t used in years!


Those piles above became this!

All these baskets aren’t just for looks! They are dual purposed as storage. The shower rod that runs the length of the closet hubby installed for me years ago for hang drying laundry.


I love a good before & after photo!


I hope you enjoyed your visit today & best wishes if you pick up that Sharpie marker & try your hand at drawing some shiplap!
Take care, I’m glad you visited today!