

Color Block - A Guest Room Refresh
I recently did a quick refresh in my guest room.

I love this color green and wasn’t ready to do a complete paint over - and I was on a tight timeline.
I decided to do a big color block on this wall to cover all the dings and scratches this wall has taken over the years.
I started with deciding how wide to mark off where the tape would be for the complimentary color that I was going to use.
I had a 4’ tall shelf from a previous project that was the perfect height for the top of my line. This helped things go quicker.


Frogtape is my go to for all taping off jobs. I put the tape at the top of the pencil marked lines.


After marking and taping the horizontal lines, it’s time to start marking the vertical lines.
Measure, level, measure some more. The lines have to be perfect!


I’ve got the horizontal lines set and now it’s time to go vertical! I couldn’t have done it without my level!

Watching that bubble to make sure it’s perfect!
I used the blade on my scissors to get a perfect corner where my tape turned. I then made double sure the edges were pressed down with a small plastic blunt blade. I then had my stencil created on the wall of where I wanted the contrasting color to be painted.


I have so much paint to choose from, it was hard to decide what I wanted to use for my contrasting color. I opted to stay in the green family. This is Dill by Behr that was left over from my kitchen island project.
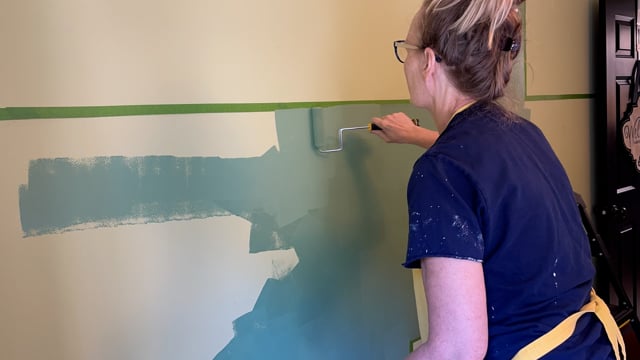
Click the arrow to watch me paint!
Here’s the finished product, just before I tear all the tape off.

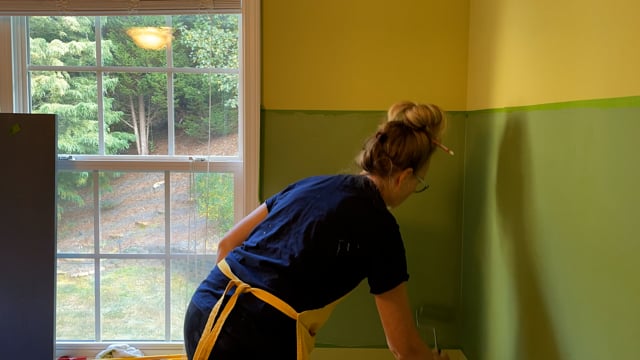
I decided this wall needed it’s own color block. Click the arrow to watch!
I love that I wrapped the color over to the window. This is where my eye goes as I open the door. It was actually hard to make myself stop! I could have done the whole room if I had more time!

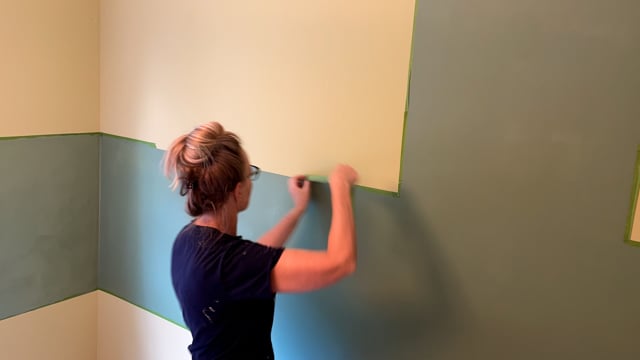
I wrapped the color block around to the entrance wall of the room.

This is exactly the look I was after! I love the balance and just enough contrast. The color blocking flows from the door and takes your eye around the room
Time to take the tape off!

The finished product! I love it and the fact that I covered all the scratches without a complete re-paint!

I added this antique floor lamp to brighten this corner at night.

One more view from the entrance of the room.
Of course a refresh calls for new bedding! I found this cute “Simply Blessed” Rae Dunn bedspread and shams at Home Goods and couldn’t resist!

I’ve incorporated ALOT of pillows from all over my house and was able to tie the colors together. I love how it turned out, except if my guests try to make the bed they probably need a pillow map!

I’ve added a quick video for the room reveal - click the arrow to watch!
I hop you enjoyed this project! Thank you for a visit to my blog!